 DigitalQRCard
How to Put a QR Code on a Canva Flyer That You Can Change Later
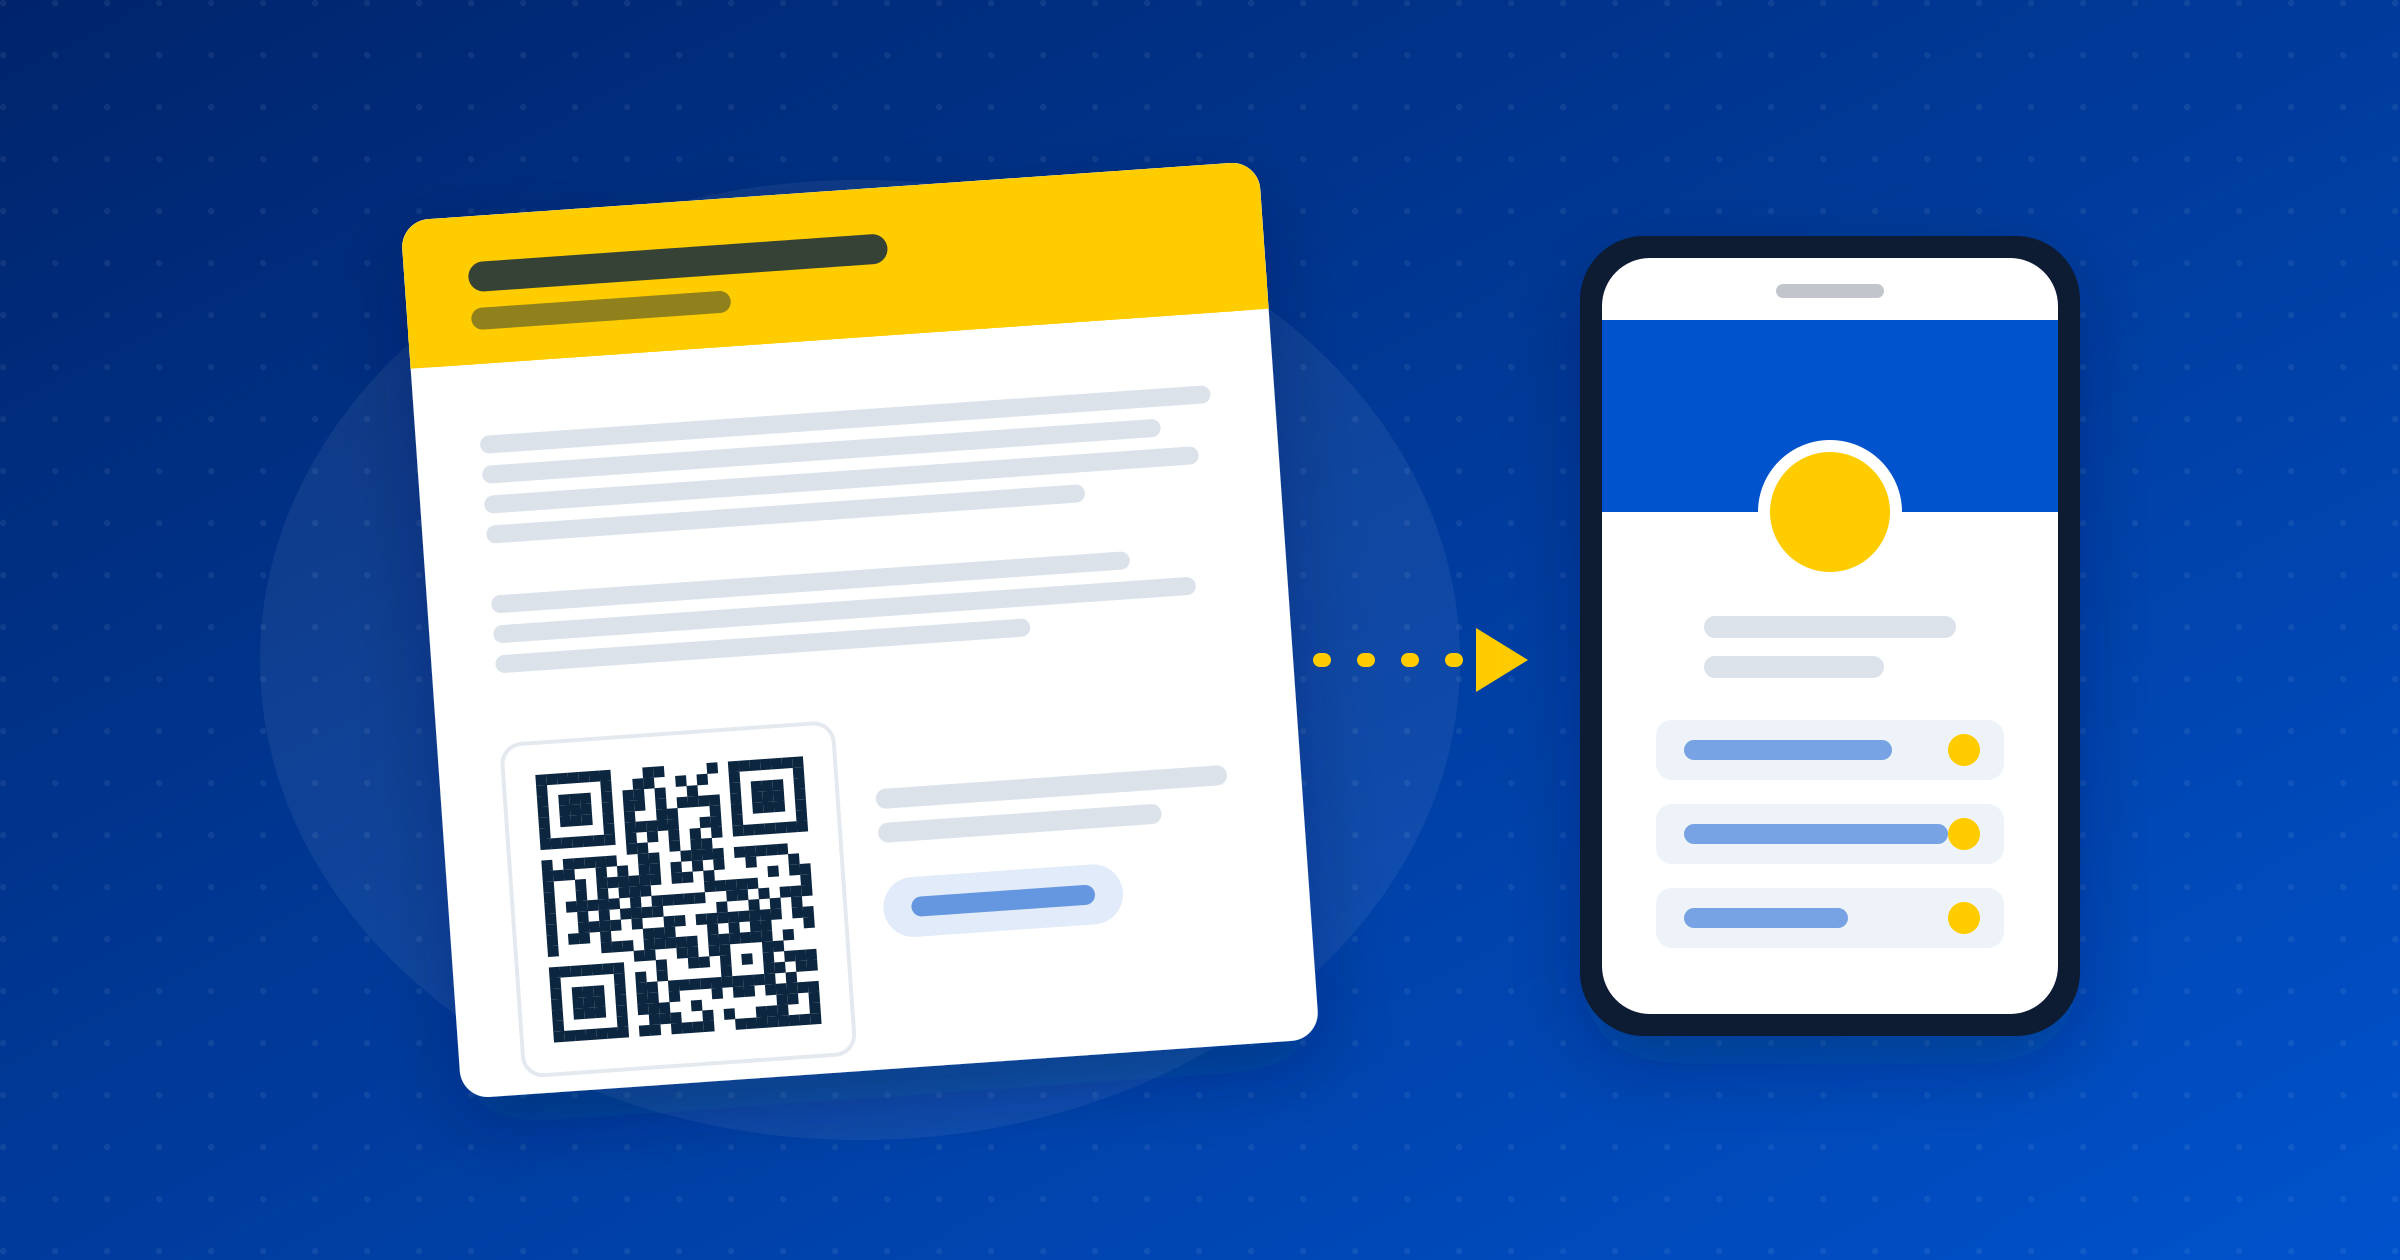
Canva has a QR code generator built in. It's free, it takes about four seconds, and it will quietly cost you a reprint the first time anything about your business changes.
Here's why. When you paste a link into Canva's QR tool, that URL gets baked into the image as a pattern of black squares. The link isn't stored anywhere you can reach. It is the picture. Change your phone number, move your booking page, swap your Instagram handle, and every flyer carrying that code now points somewhere wrong. The only fix is a new code and a new print run.
For a one-off event poster that's fine. For a menu, a yard sign, a price list, a vehicle magnet, or anything else you'll live with for a year, it's a trap worth avoiding.
Point the code at something you control
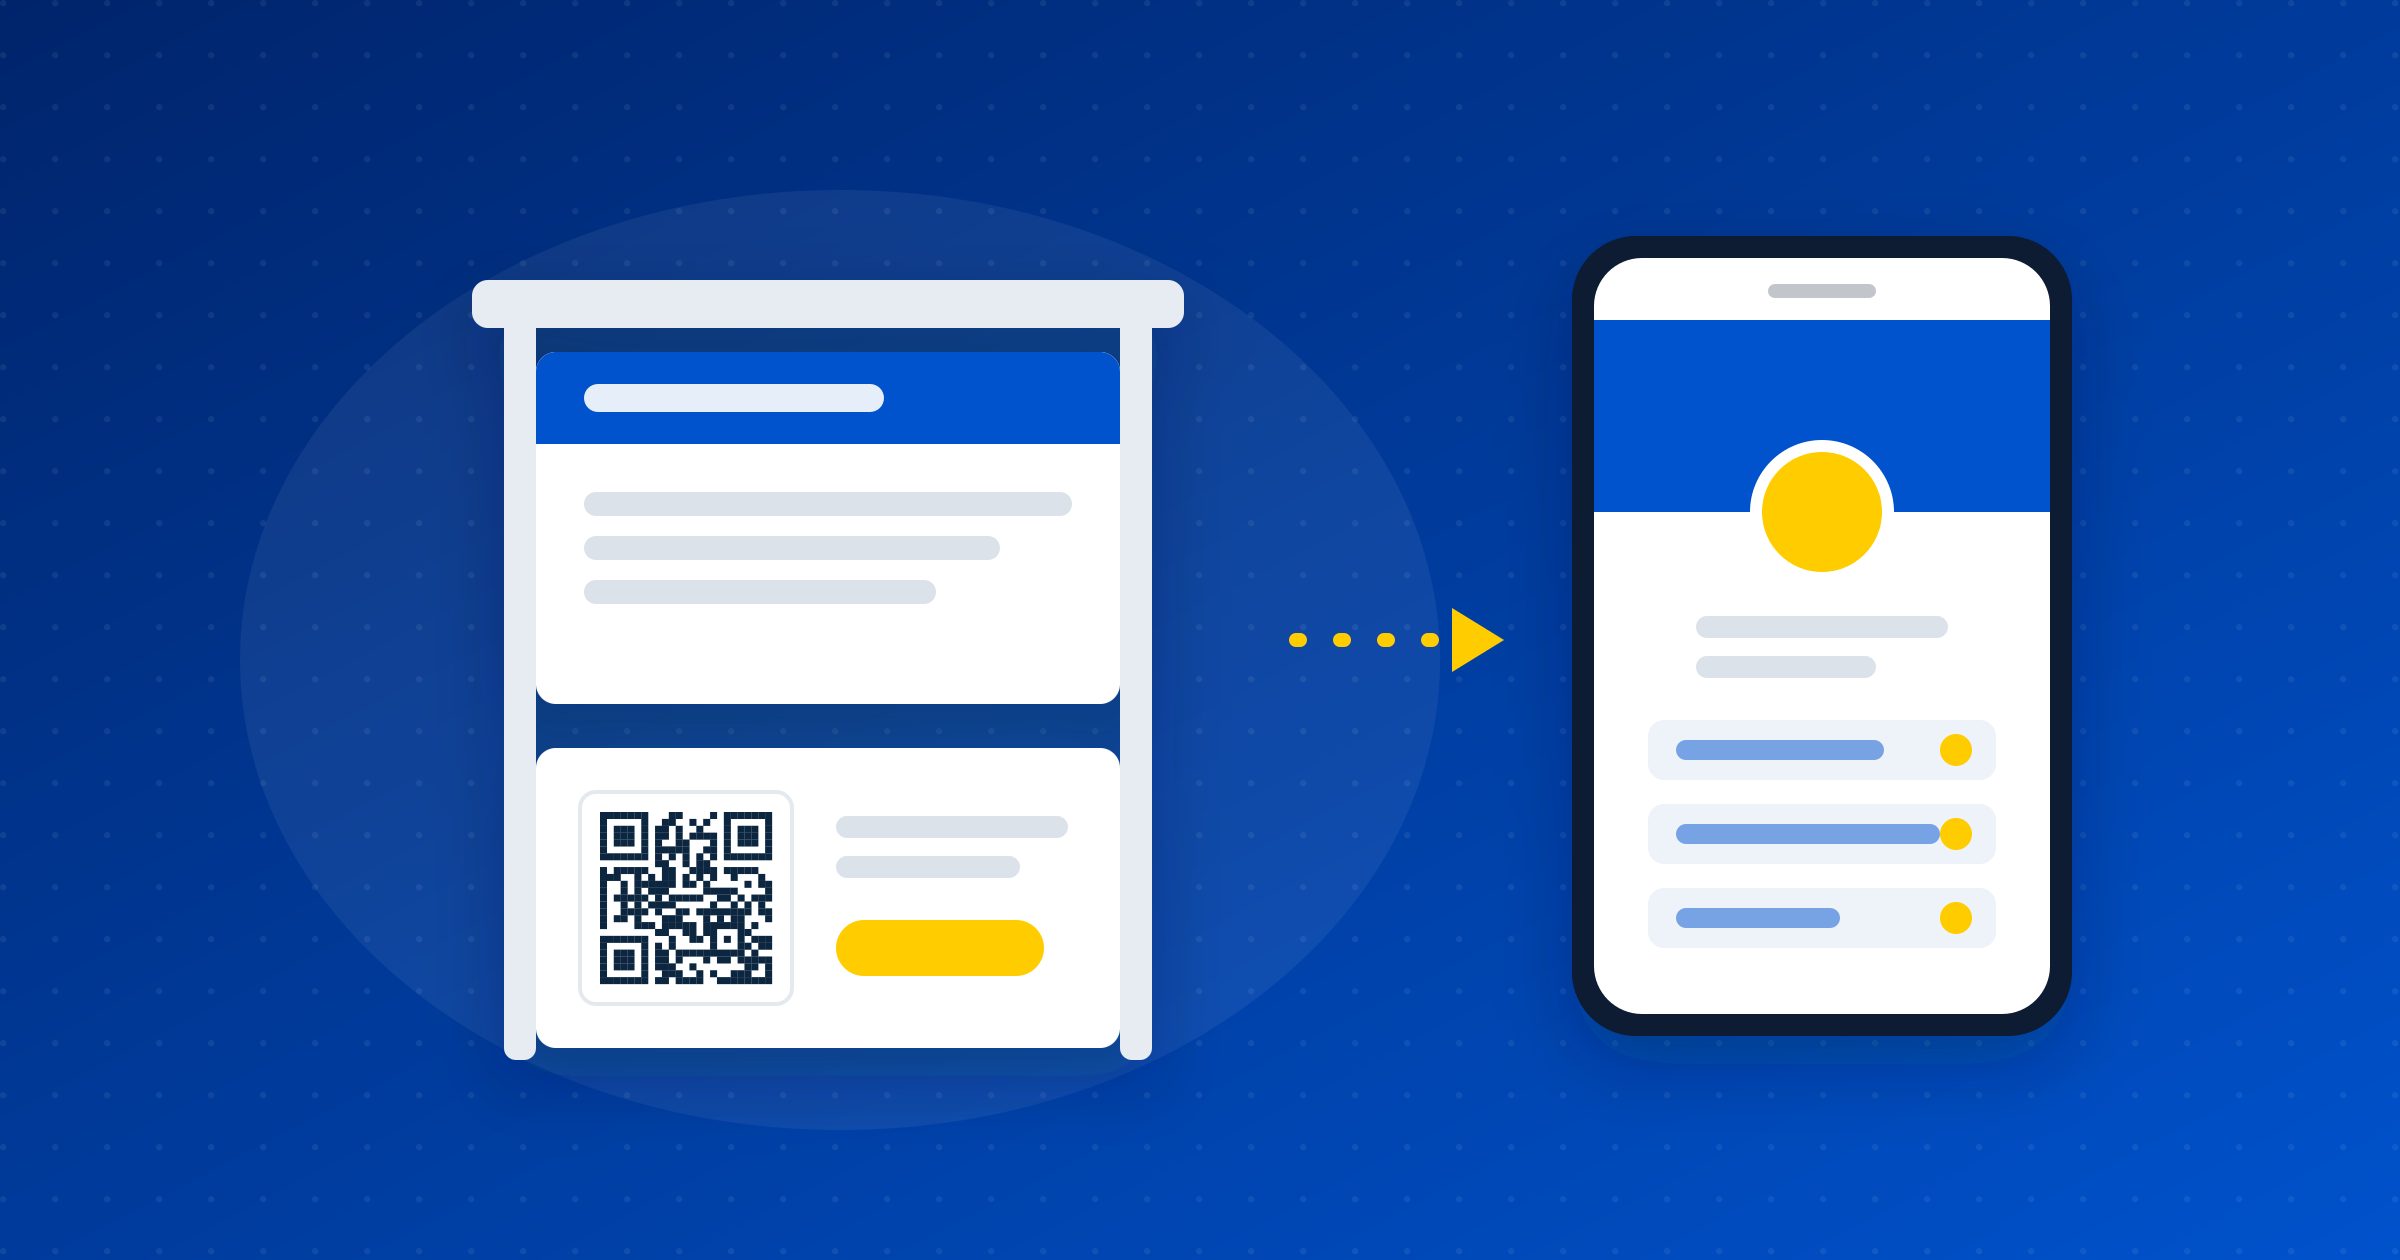
The fix is to give the QR a permanent address that you can redirect. Instead of encoding https://instagram.com/yourhandle directly, you encode a link to a page you own, and you change what that page says whenever you like. The printed squares never change. What sits behind them does.
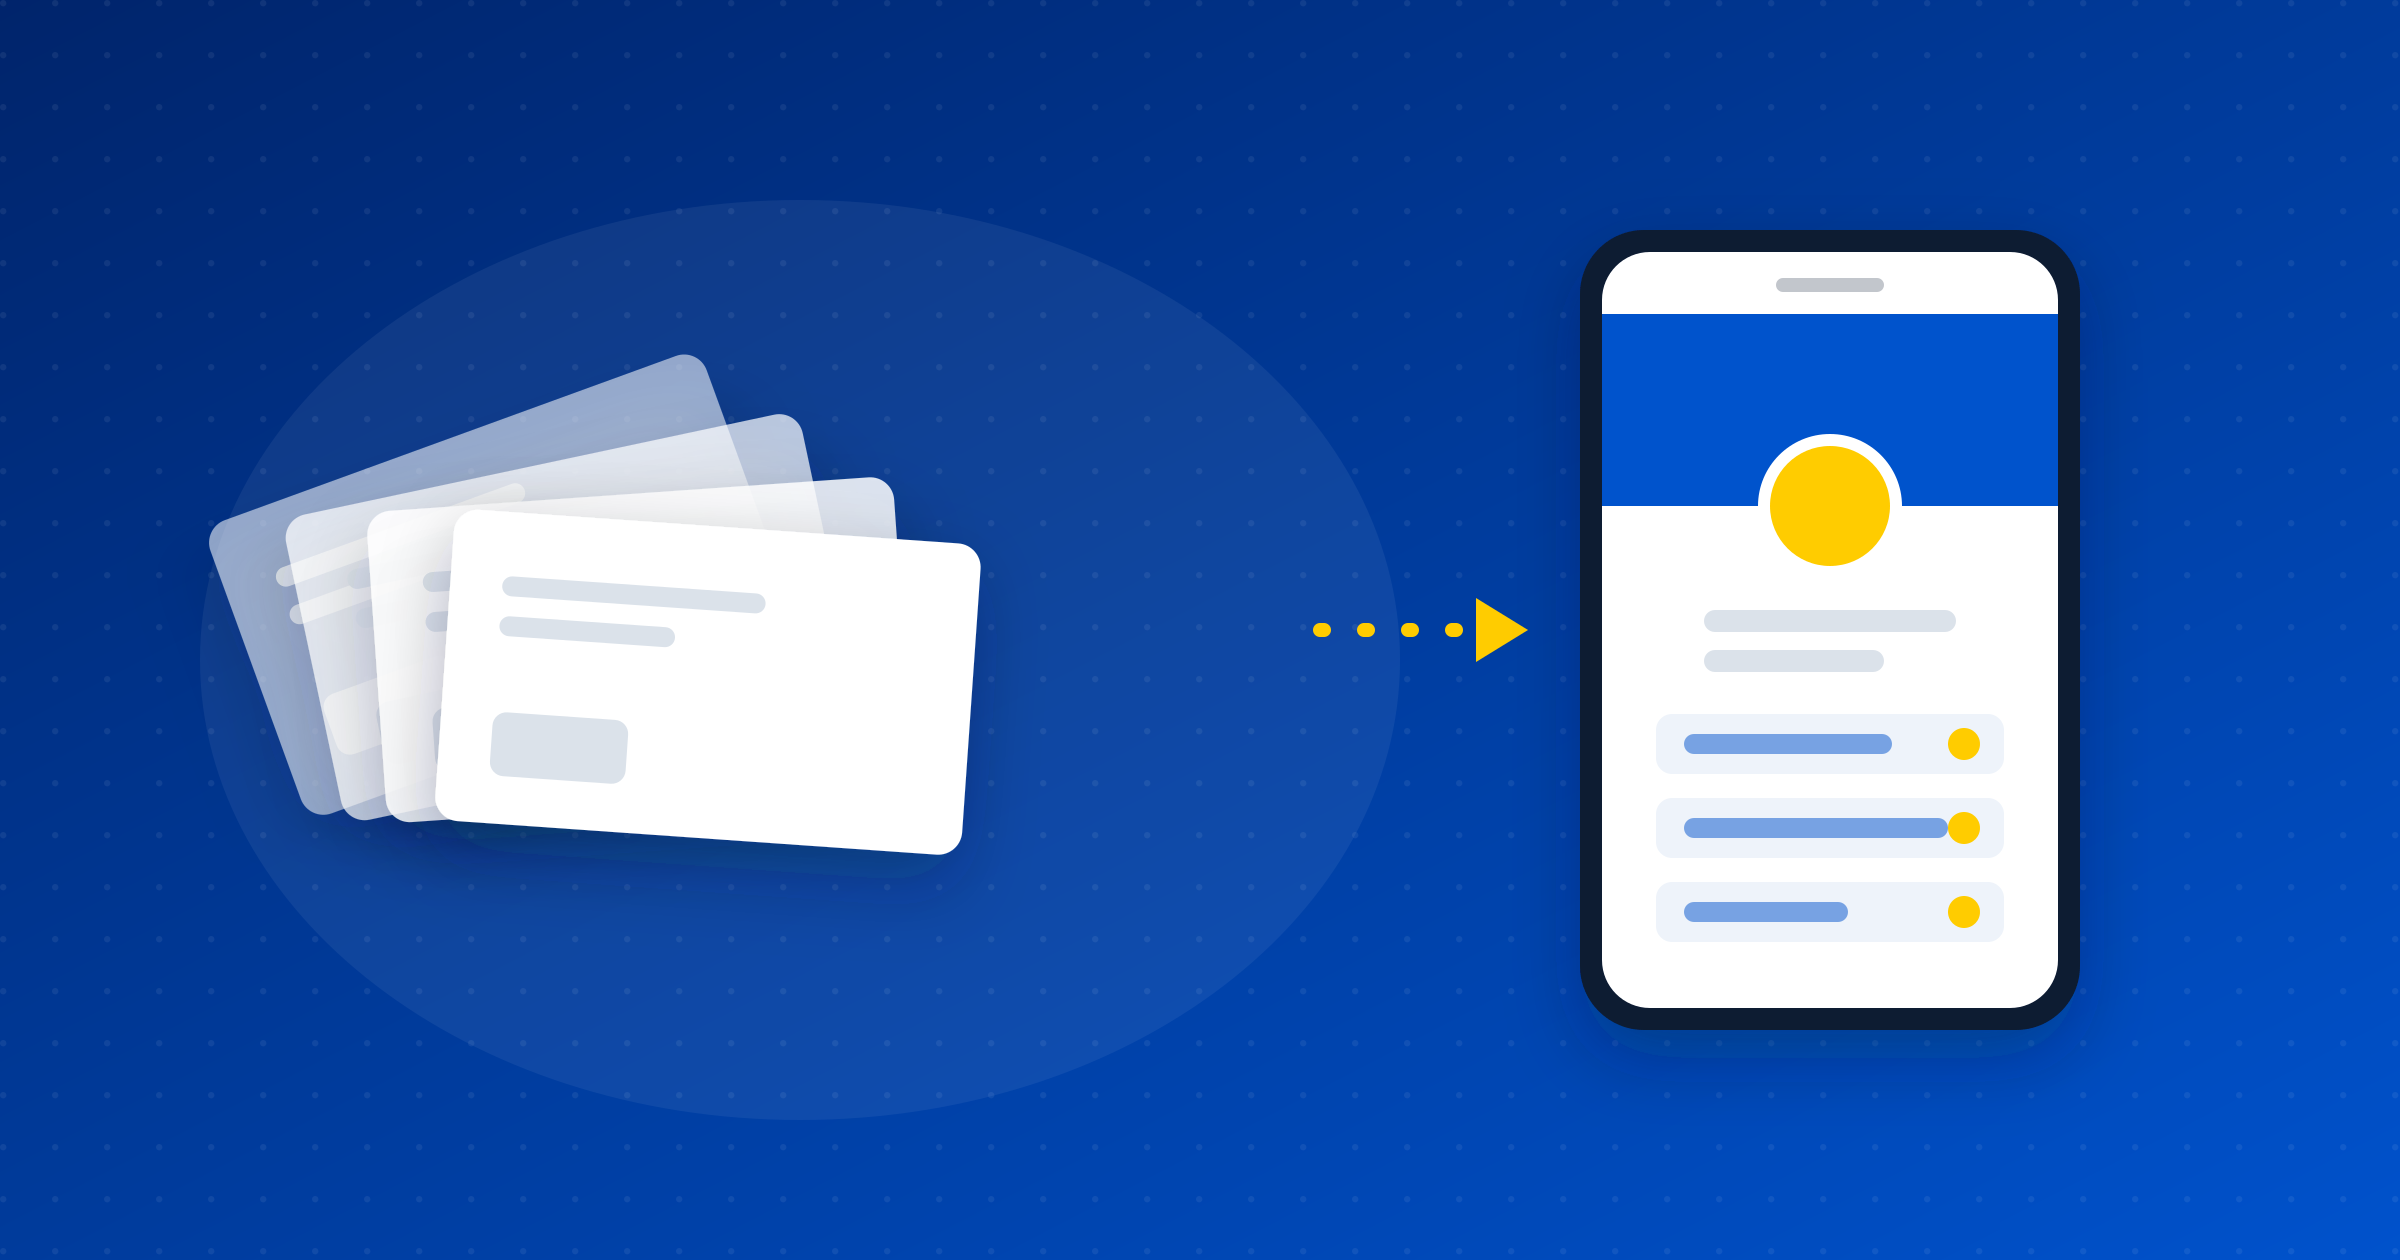
That's what a digital card is for. Your name, number, email, booking link, socials, and hours all live on one page. The QR points at the page, not at any single detail on it.
So when you switch from a cell number to an office line, you edit one field. The 400 menus on the tables keep working.
Getting a usable QR file
Most QR tools hand you a small PNG with a white square welded to the background. Drop that on a coloured Canva layout and you get an ugly white box floating on your design, which is the point where people give up and go back to the built-in generator.
You want one of two things:
- A transparent PNG. No background, so the code sits directly on whatever colour or photo is underneath. Get it at a few thousand pixels wide, not 300. A 300px QR looks fine on screen and turns to mush at print size.
- An SVG. Vector, so it stays sharp at any size from a business card to a shop window. If your printer asks for vector art, this is the one to send them.
In Digital QR Card, both are in My Cards. Open the download menu on your card and pick the transparent PNG for Canva work, or the SVG if you're sending files to a print shop.
Dropping it into your Canva design
- Download the transparent PNG.
- In Canva, open Uploads in the left panel and drag the file in.
- Drag it onto your design and scale it with a corner handle so it stays square. Never drag a side handle. A stretched QR is an unreadable QR.
- Put it somewhere a phone can reach. On a menu, that means near the edge or the bottom corner, not buried in the centre fold. On a yard sign, put it at roughly chest height rather than at the top.
The print rules that actually matter
Size. The rough guide is that a code needs to be about a tenth of the distance it's scanned from. Someone holding a menu is 25cm away, so 2.5cm across is plenty. A yard sign read from 3 metres needs something closer to 30cm. When in doubt go bigger, because nobody has ever complained that a QR code was too easy to scan.
Leave the quiet zone alone. That empty margin around the squares isn't padding, it's how a camera finds where the code starts. Cropping it tight or running text right up to the edge is the single most common reason a printed code fails.
Contrast. Dark code on a light background. Scanners are looking for a strong light-dark difference, so a mid-grey code on a beige panel will fail in bad light even though it looks great on your monitor. If your brand colour is dark and saturated, it'll usually work. Pastels usually won't.
Don't put it on a photo. Busy backgrounds behind a transparent PNG are the other big failure. If you want the code on an image, drop a solid shape behind it first.
Test it before you spend money on printing
Export the design as a PDF or PNG, open it on your laptop, and scan it with your phone. Then do the part most people skip: print one copy on ordinary office paper at the real final size and scan that. Screens are backlit and forgiving. Paper isn't, and a code that only works on a monitor is a code that fails on the table.
Scan it with a second phone too, ideally an older one. Camera quality varies more than you'd think.
What you get afterwards
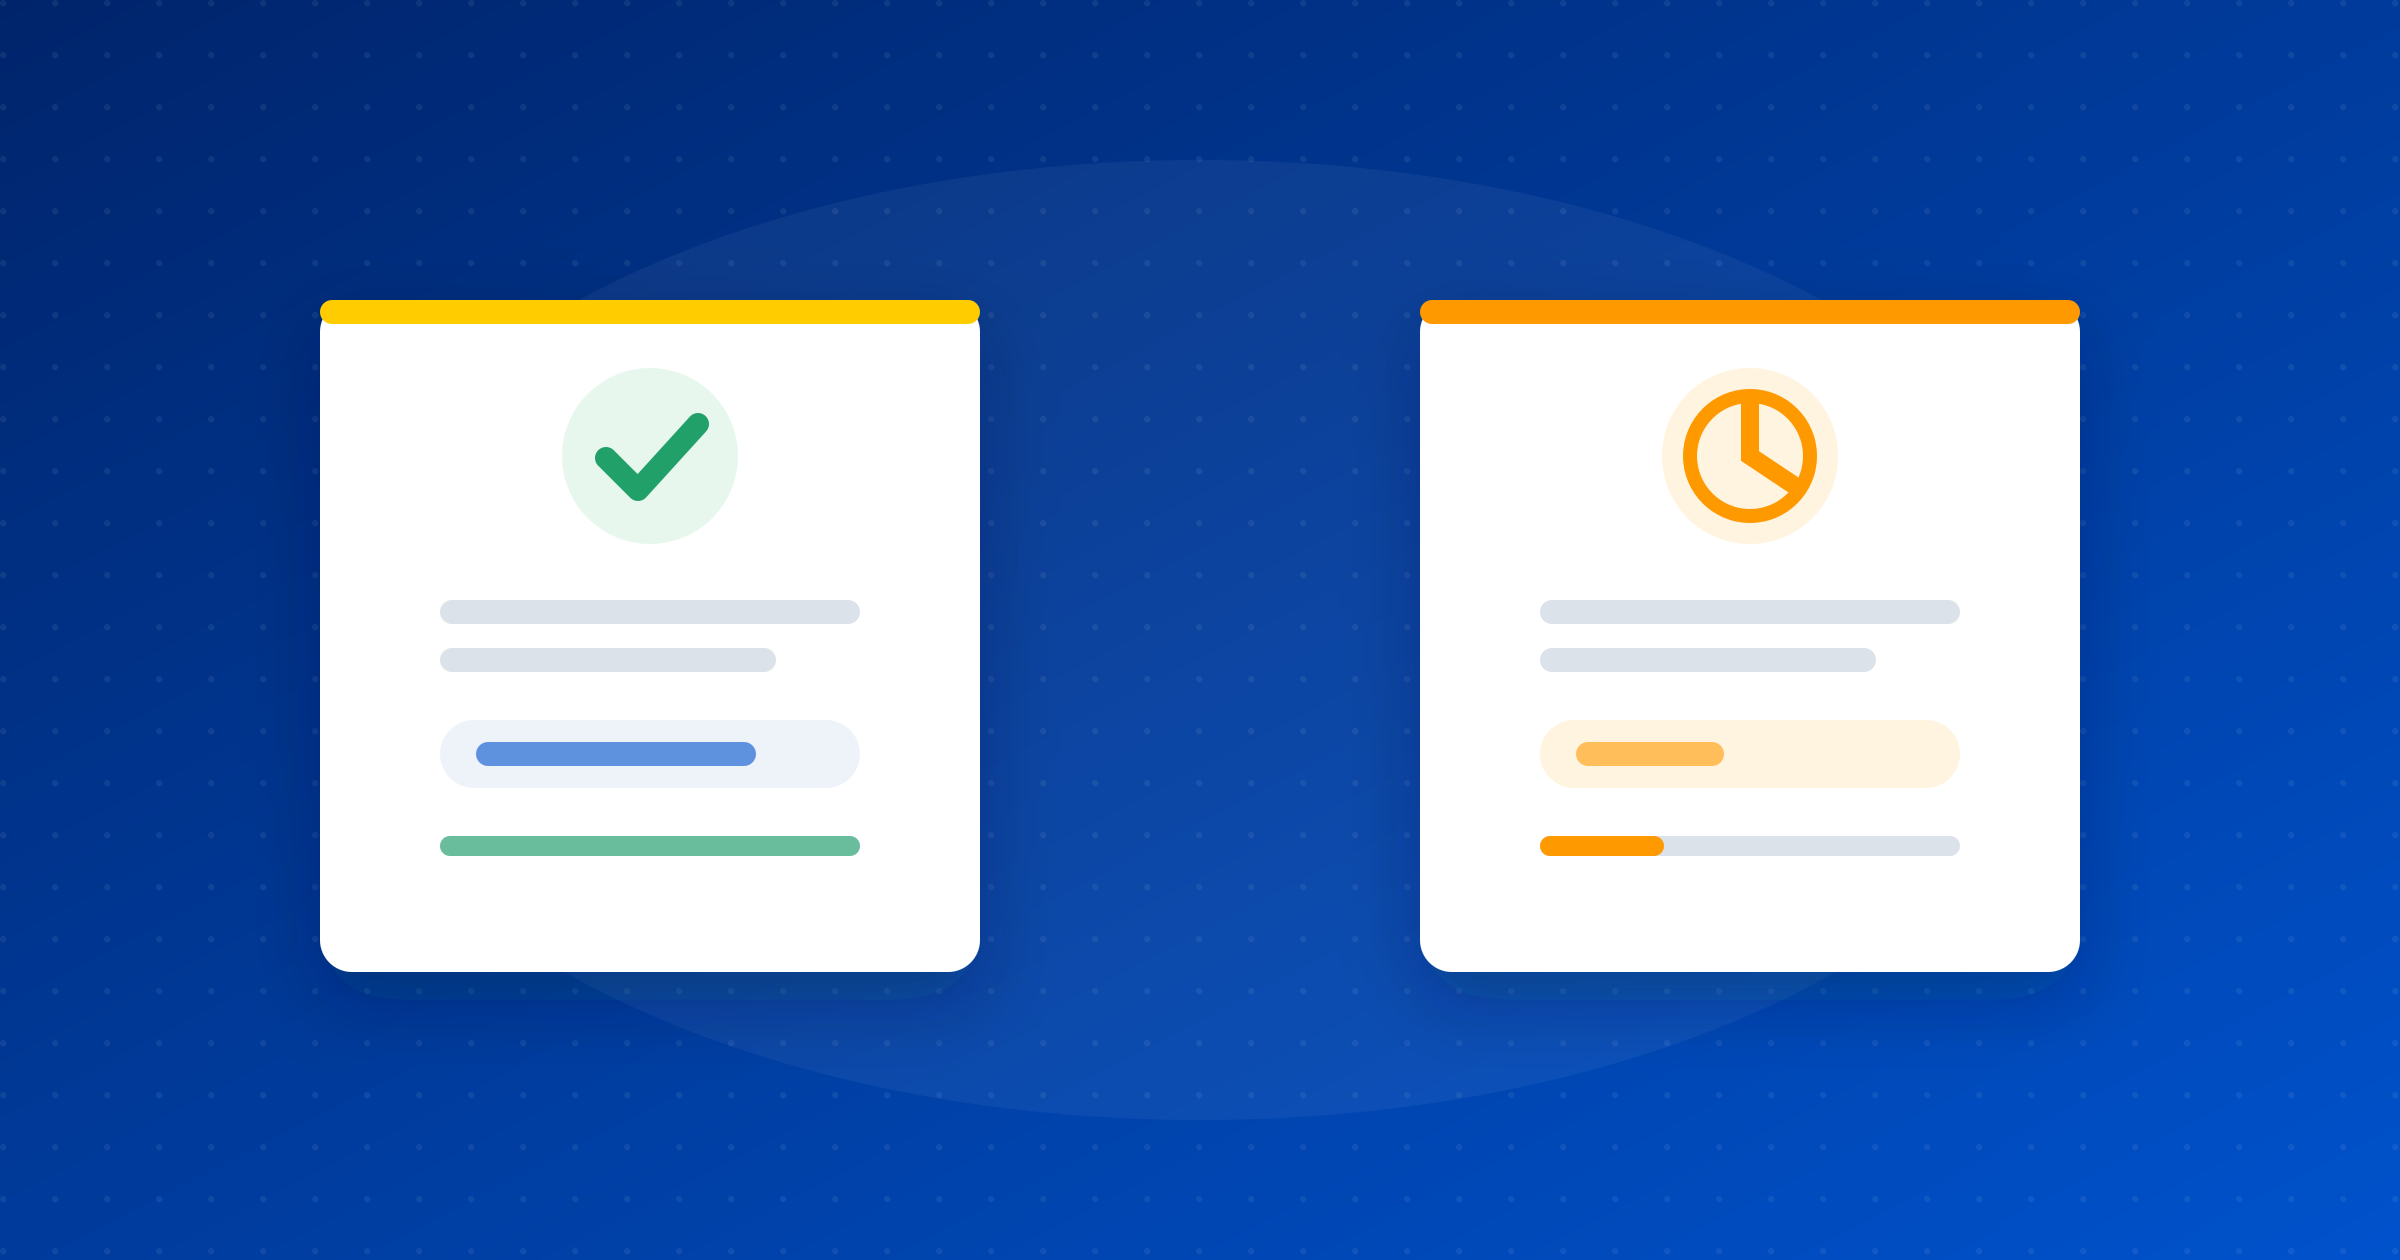
A static QR tells you nothing once it's printed. You hand out 500 flyers and you have no idea whether anybody scanned one.
Because the code points at a page you own, you can count the scans. That turns a printing decision into something you can check. If the flyers in one neighbourhood pull twenty scans and the ones in another pull two, you know where to put the next batch. If the menu code gets scanned every night, keep it. If it never does, move it somewhere people can actually see.
None of this requires you to stop using Canva. Canva is genuinely good at making the flyer. The QR is the one part of the design worth keeping somewhere you can edit after the ink dries.
Create a free card, download the transparent PNG, and put it on your next design.